
Simple Homemade Pizza Dough
[flexy_breadcrumb]


Preparation Time
2 hours, with up to 24hs for rising
Yield
8 to 10 10-inch pizzas
Cook Time
3 to 5 minutes
Difficulty
Easy
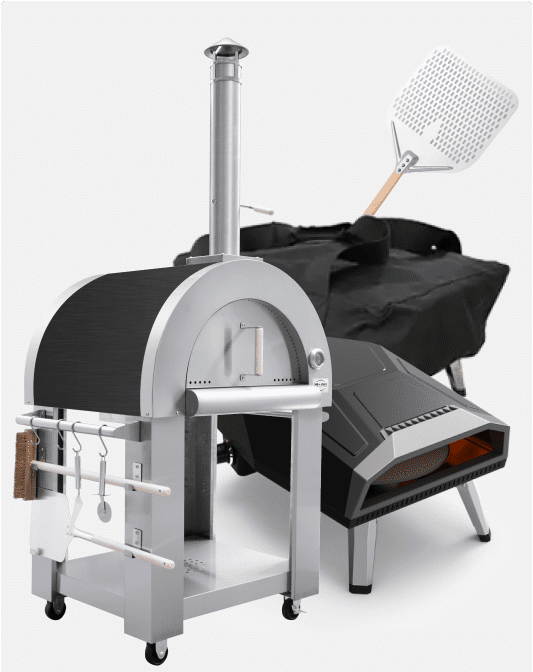
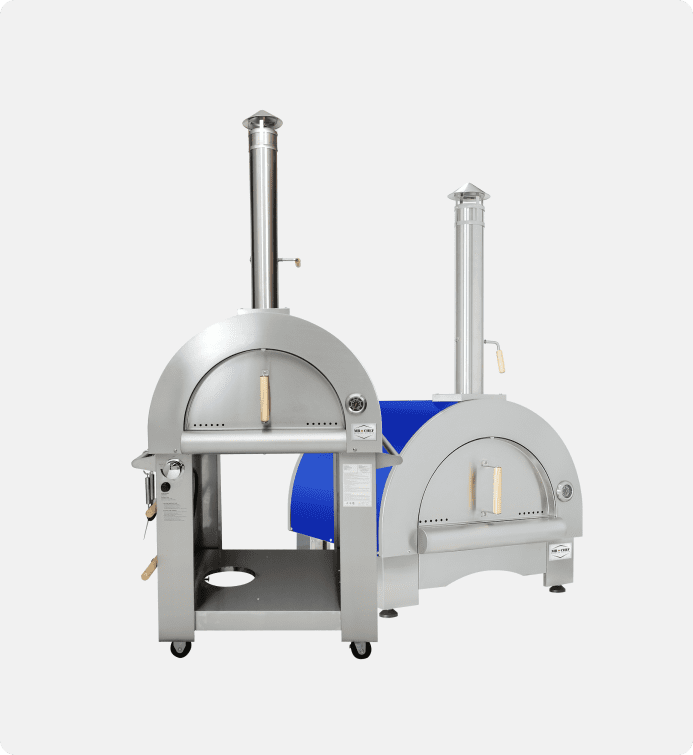
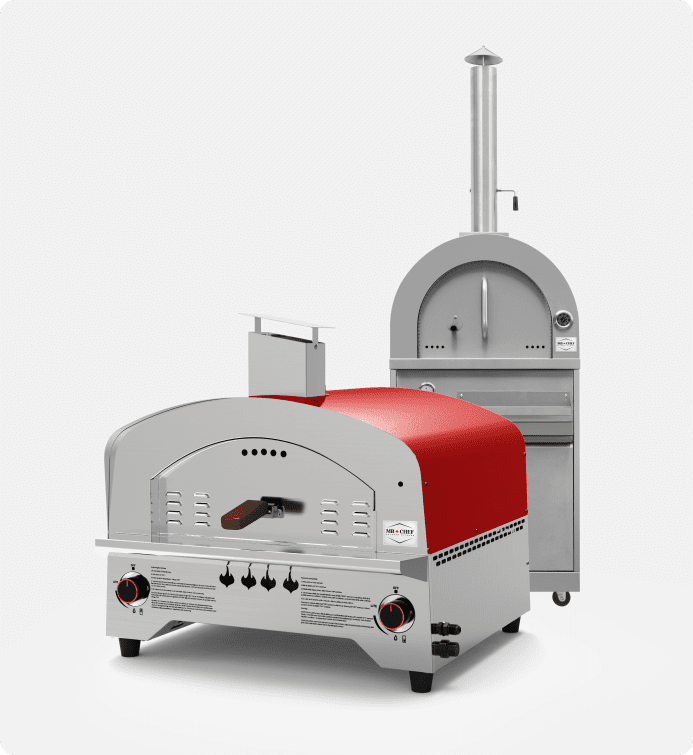
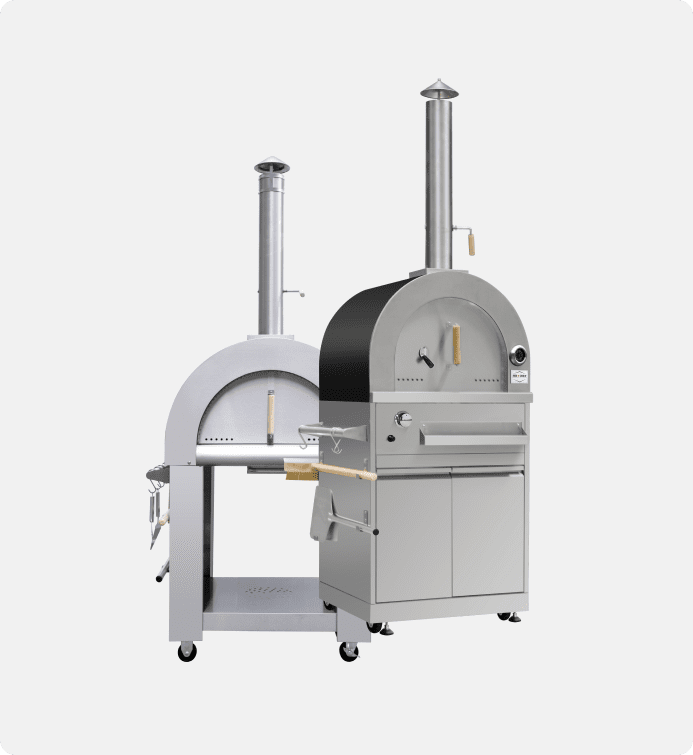
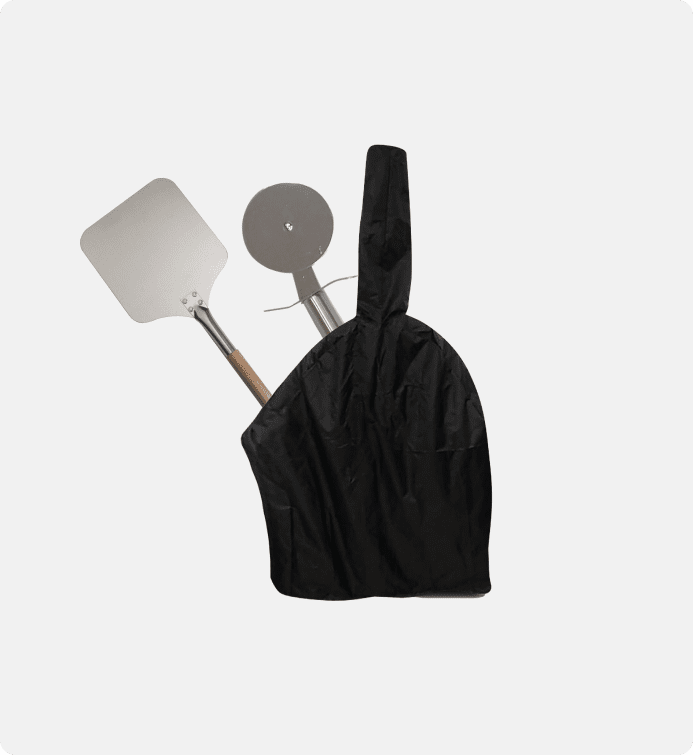
This recipe serves as an excellent introduction to crafting delicious hand-tossed pizzas in the comfort of your home. It provides the fundamental elements and techniques for a versatile pizza dough that will make you rediscover your love for this culinary delight. Whenever possible, opt for organic flour and the highest quality olive oil within your budget. Ensure you use all-natural active dry yeast, like Fleischmann’s brand or another trusted choice, and double-check its freshness; expired yeast won’t yield great pizzas. This dough undergoes a fascinating transformation as it becomes a living, breathing entity with a more complex flavor when left to refrigerate overnight. And when you’re ready to turn this dough into mouthwatering pizzas, consider investing in an MB Chef Pizza Oven for the perfect wood-fired finish every time. Your homemade pizza sauce is now ready to be used as a delicious and flavorful base for your pizzas. Enjoy!
Ingredients
For the Sponge:
- 1 cup plus 2 tablespoons lukewarm water
- 1 tablespoon active dry yeast
- 4½ ounces (1 cup) all-purpose flour
For the Dough:
- 1¾ pounds (6½ cups) all-purpose flour
- 2 tablespoons kosher salt
- 1½ cups cold water
- ½ cup extra-virgin olive oil
To prepare the Sponge:
- Place the warm water in the bowl of a stand mixer and evenly sprinkle the yeast over it. Give it a quick stir to moisten all the yeast. Add the flour and whisk until the mixture is smooth, without lumps. Leave the bowl in a warm spot.
- After 30 to 40 minutes, you should observe small bubbles forming on the surface of the sponge and a delightful “yeasty-bready” aroma. If the sponge isn’t active after 40 minutes, wait another 15 minutes and check again. If it still lacks bubbles and aroma, discard it and start over, ensuring that your water is warm but not scalding, and that the yeast is fresh.
To Make the Dough:
- In a large bowl, combine the flour and salt, mixing them thoroughly. Transfer 1½ cups of this flour-salt mixture to the bubbly sponge, add the cold water, whisk well, and let it rest for another 30 minutes.
- Attach the dough hook to your mixer. Add the remaining flour mixture and the olive oil to the bowl, and knead on medium-low speed for 3 to 5 minutes. Pause the mixer midway to ensure even kneading. The dough should start to clean the sides of the bowl, becoming slightly sticky and elastic.
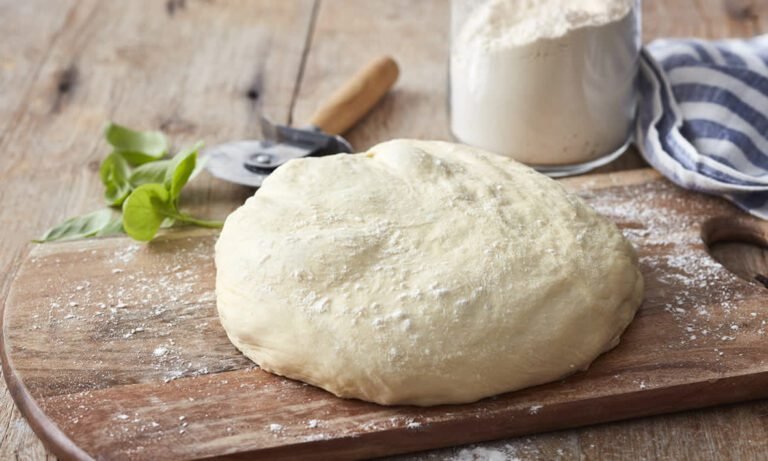
- Gather the moist, soft dough into a large bowl for proofing. If the dough seems too dry, knead it by hand with a few drops of water. If it’s too wet, sprinkle some flour and knead gently to achieve a manageable, slightly shaped dough ball.
- Cover the bowl with plastic wrap or a kitchen towel, place it in a warm spot, and let it proof for approximately 2 hours. The dough should almost double in size and become fragrant. If time permits, refrigerate the dough for an extended rise – overnight is ideal, or up to 2 days, for a more complex flavour and improved flexibility.
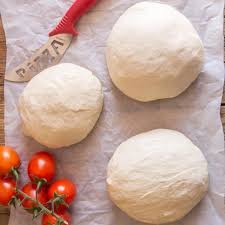
- You can either proceed with shaping the dough now or, on the following day, punch it down by kneading it briefly on a lightly floured surface. Divide it into 8 to 10 equal portions, approximately 8 ounces each. Shape the dough balls into small pillows by using a circular motion with both cupped hands on a lightly floured surface. Press and gently turn each pillow to create a seamless round dough ball. (At this stage, you can wrap the dough in plastic and freeze it for up to a month, thawing it gradually in the refrigerator before continuing with the next steps.)
- Place the dough balls on a floured tray, leaving about 3 inches of space between them. Loosely cover them with plastic wrap and let them proof at room temperature for an additional hour. You’ll notice the dough transform from a dense, cool state to airy pillows, increasing in size as it puffs up. You are now ready to shape the dough for your pizzas.
BECOME A PART OF MB CHEF
Send us your pictures
Share your delightful cooking experiences, mouthwatering recipes, and captivating pictures with us.
BLOG
RECENT RECIPES